
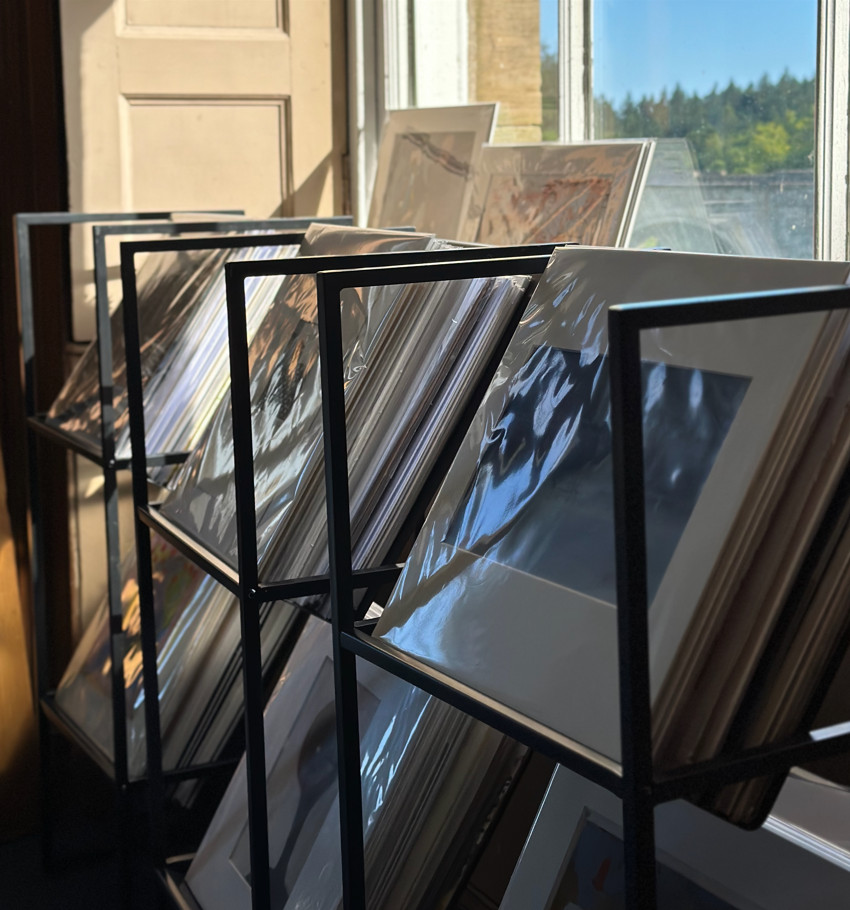
Simple steps to assure your work is exhibition-ready
https://drive.google.com/file/d/1M8TTU67ZCKprrIUmggS30_vZTOMmjG5P/view?usp=sharing
MATERIALS LIST:
White mountboard
Scissors
Cellophane wrap
Masking tape
Black pen
Foam dots
Ruler
Take your mountboard and measure a 30 cm by 30 cm square.
Cut this square off the A2/A3 mount board.
On one side of your 30X30 mountboard, take your pen and write your
Name
Title of artwork
Materials
Price
This will be the back of your 30X30.
Take your sticky dots and position your artwork in the middle of the board.
Dimensions will be different depending on your piece, just ensure it is perfectly situated within the 30 X 30 cm. You can also use foam board insteadof specialised dots and cut to size. Using glue to secure in place.
Double check your artwork is securely in place.
Now your board is now ready to be wrapped.
Cut your cellophane to size, leaving enough length on each side to fold over like an envelop.
Crisply fold all sides and secure even with masking tape.
Ensure your written details can still be seen and that no tape is obscuring the text.
Your piece is ready to exhibit!
SOURCE YOUR SUPPLIES:
A2 White Mountboard, £1.99, Wilko
A2 White Mountboard, £1,99, The Range
A3 White Enviromount, £1.00, Jackson’s Art Supplies
Cellophane Wrap Roll (2M) Clear, £0.79, Staples
Clear Cellophane (10M) , £1.99, The Range
Cellophane Roll Wrap (2M) Clear, £1.99, Ryman
Adhesive Circle Foam Pads, £2.00, Hobbycraft
Art Studio 3D Foam Squares, £1.00, The Range
Art Studio 3D Foam Dots (152), £0.70, Wilko
These materials will last you multiple 30 x 30 submissions, with some specific elements being able to be reused or recycled after exhibition.
https://drive.google.com/file/d/1M8TTU67ZCKprrIUmggS30_vZTOMmjG5P/view?usp=sharing